Wednesday, December 5, 2012

Muse of the morning - Playful Prudence pattern Review.

Muse of the Morning , thank you , thank you very much.

I have made a few dolls. Some ok, some good , some ...lets not talk about it. I have made the lovely Black Apple Doll available on Martha Stewart's website. I have also made the Jane Doll from 'a bit of whimsy' . Both of these I found great if not a little time consuming. On both I widened the arms as I just don't have the patience to turn those tiny tiny little limbs .

I have made dozens of them , all slightly different but the thought of making another one filled me with dread. My youngest has just turned 1 and LOVES dolls . LOVES THEM. And I haven't made her one...guilty much??

Step forward Muse of the Morning and the Playful Prudence Doll.

Its huge!! Which means no turning little arms and legs or heads through tiny little necks. The construction is a little different which I really liked. I would highly recommend the pattern although I must confess to a VERY cursory glance at the instructions, I'm  a risk taker like that. Although what I saw was super easy to understand with lots of great diagrams.

Also , clothes. I have attempted to make removable clothes for some of the other dolls I have made and lets just say I am no pattern drafter. FAIL. This comes with a dress , apron and long john things which I confess I am yet to finish, but just like the doll are well drafted and easy to put together. On the dress I skipped the facings and used bias binding.


I suck big time at embroidery on any level so my face is super simple but I figured the 1year old wouldn't care.


Here's an old picture of one the first ones I made , this one is a Black Apple doll with child number 3, now a bit older but still pretty cute.


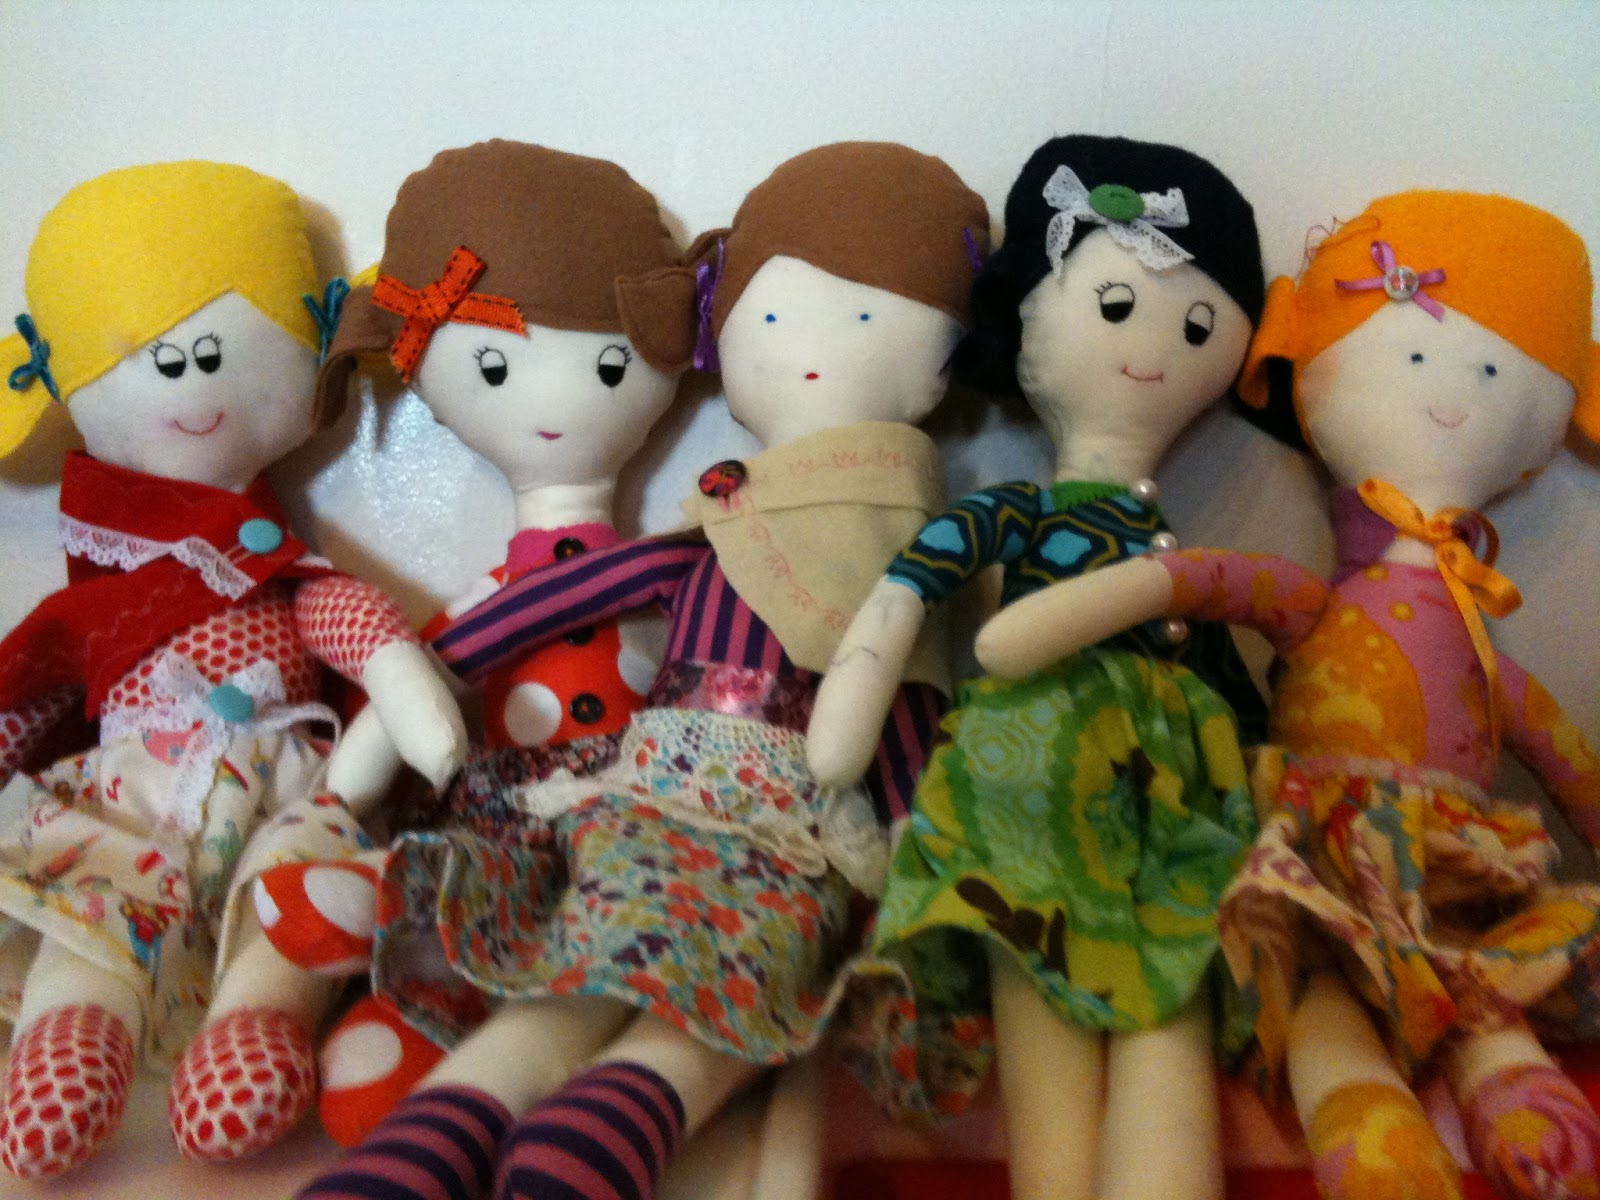
Here is a few of the 'a bit of whimsy' Jane dolls. 


Here's the future doll owner with an Oreo she found . Nice.

NOTE; I haven't included links as I am a blog virgin and am not confident on how to do it correctly as I know there is an etiquette involved re:traffic. Although I am sure I will be the only one looking at it anyway!


just found one more doll picture- A Harry Potter version of the Black Apple Doll.

Tuesday, December 4, 2012

Fabric Bowl Tutorial

Imaginative title hey?? It's hard enough to find time to sit down to do this let alone be amusing and enjoyable to read too. 

This will be my first tutorial so bear with me while I am unbearably poor at it. I am sure if I get better I will come back and fix it.
First a picture to get you interested.....

For these bowls you will need several yards/metres of piping cord (cotton cord) . I have used several different thicknesses and usually just use whatever I have on hand. Today I had this which was just under 1/4 '' wide. If you use anything thicker than this you will probably have to use a denim needle, my new Bernina requires a mini screw driver for needle changes so now I avoid them at all costs.Lazy.

Here I used 4 WOF* strips approx 1/2'' wide, sometimes you need more or less depending on the width of your cord, the size of the bowl you are making and how tightly you wrap the cord.
*width of fabric approx 44-45''.

To start set you machine to a zig zag , 


Don't worry if your zig zag doesn't go this wide , my old machine only went up to 5 and it worked just fine. 

Grab your cord and one piece of fabric and tightly wrap the end so all the white cord is covered. Start to roll it like a snail until there is about 2 circles and then pop it under your sewing machine foot.


  Slowly start your zigzagging going back and forth until its secure. If you have a needle down function switch it on, it helps a lot. If not make sure you put your needle down manually every time you stop to wrap the cord.

Start slowly turning your "snail" and at the same time continue to wrap the fabric around the cord. Continue to sew and turn , sew and turn until you are nearly at the end of the fabric. Grab another piece of fabric and wrap it around the end of the other piece and continue on.


When you have made a circle large enough for the bottom of the bowl (depending on how big you want the finished product) simply tilt the circle up and keep sewing and wrapping the cord .


Pretty simple eh?

Continue on until you have made a bowl the size you wish , keeping it tilted and wrapping new pieces of fabric as necessary. When you are ready to finish up simply cut the cord 1/2'' inch before the end of you fabric strip and wrap the end of the cord so its all covered. 


When you get to the wrapped up end simply lay it over the inside of the bowl and sew back and forth a few times to secure . Snip the threads and you're done!!